
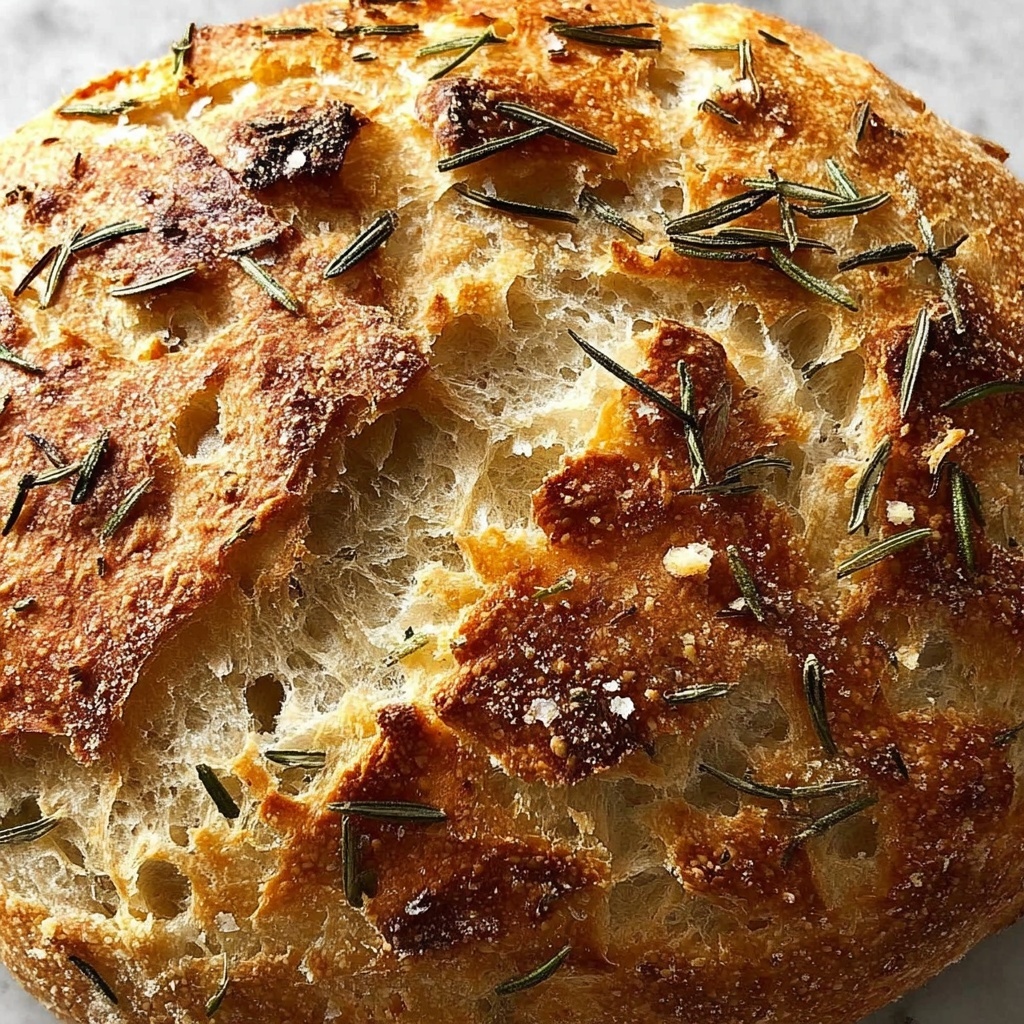
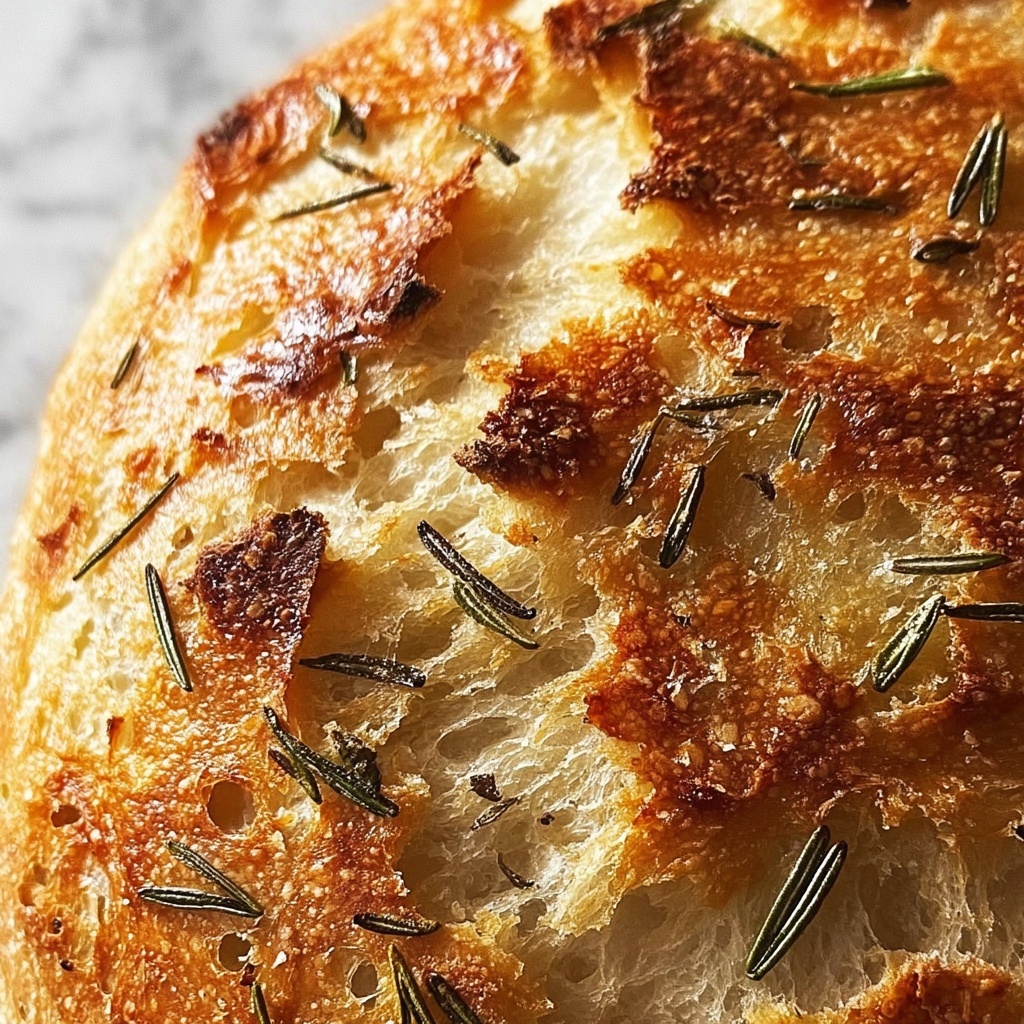
If you are looking to bake a truly aromatic and flavorful loaf, this Rosemary & Roasted Garlic Artisan Bread Recipe is an absolute delight to make and enjoy. Imagine biting into a crusty, golden-brown loaf bursting with the warm earthiness of rosemary and the sweet, mellow richness of roasted garlic. It’s rustic yet refined, perfect for impressing guests or elevating your everyday meals. The slow roasting of garlic transforms its pungency into a creamy, garlicky spread that melds beautifully with fragrant, fresh rosemary and a hint of dried herbs. This recipe brings together simple pantry staples with fresh ingredients, resulting in a satisfying artisan bread that fills your kitchen with an irresistible aroma that’s hard to resist.
Ingredients You’ll Need
None of the ingredients here are fancy or fussy, but each one plays a vital role in creating the perfect texture, flavor, and color of this bread. From the bubbling yeast that gives life to the dough, to the fragrant rosemary that adds its signature herbaceous note, every component is essential.
- 3 cups all-purpose flour: The foundation for the bread’s structure and crumb, choose a good quality brand for best results.
- 1 1/2 teaspoons salt: Enhances all the flavors, balancing sweetness and bitterness perfectly.
- 1 teaspoon granulated sugar: Feeds the yeast and adds a touch of sweetness to the crust.
- 2 1/4 teaspoons active dry yeast (1 packet): The magic agent for rising the dough and creating those lovely bubbles inside.
- 1 1/4 cups warm water (about 110°F): Activates the yeast and hydrates the flour for the dough’s elasticity.
- 1 whole head garlic: Roasted to bring out a sweet, mellow flavor that permeates the bread.
- 1 tablespoon olive oil plus 1 tablespoon for roasting garlic: Adds richness and moisture to the dough, also helps roast the garlic evenly.
- 1 tablespoon fresh rosemary, finely chopped: The hero herb here, delivering a fresh piney, aromatic punch.
- 1/2 teaspoon dried rosemary: Boosts the herb flavor in a more concentrated form.
- 1/4 teaspoon black pepper: Adds just a subtle depth and slight kick to round out the flavors.
How to Make Rosemary & Roasted Garlic Artisan Bread Recipe
Step 1: Roast the Garlic
Start by preheating your oven to 400°F. Slice off the top of the garlic head to expose the cloves, drizzle with olive oil, wrap tightly in foil, and roast for 35 to 40 minutes. This technique turns raw garlic sharpness into a buttery, sweet softness that creates the base flavor for your bread.
Step 2: Prepare the Yeast Mixture
While the garlic cools, stir together warm water, sugar, and yeast in a large bowl. Let it rest for 5 to 10 minutes until it froths up into a foamy surface, signaling the yeast is active and ready to work its magic on the dough.
Step 3: Mix and Knead the Dough
Combine the mashed roasted garlic with olive oil, fresh and dried rosemary, salt, and black pepper into the yeast mixture. Gradually add flour, mixing well until a shaggy dough forms. Transfer to a floured surface and knead for about 8 to 10 minutes until smooth and elastic. This step is key for developing the gluten structure that gives the bread its chewy, airy texture.
Step 4: First Rise
Place the dough into a lightly oiled bowl, cover with a clean towel, and let it rise in a warm spot for 1 to 1 1/2 hours. The dough should nearly double in size, soft and pillowy, ready for shaping.
Step 5: Shape and Final Rise
After punching down the dough to release excess air, shape it into a round loaf and place it on a parchment-lined baking sheet. Cover loosely and let it rise again for 30 to 40 minutes, allowing the flavors to develop further and the texture to perfect.
Step 6: Bake to Golden Perfection
Increase your oven temperature to 425°F. Score the loaf’s surface lightly with a sharp knife to help it expand while baking. For a crisp crust, optionally place a pan of hot water on a lower rack to create steam. Bake for 25 to 30 minutes until golden brown and the loaf sounds hollow when tapped underneath. Cool completely on a wire rack before slicing to keep the crumb intact.
How to Serve Rosemary & Roasted Garlic Artisan Bread Recipe
Garnishes
This bread shines with a simple pat of high-quality butter or a drizzle of extra virgin olive oil. For a touch of elegance, top slices with a sprinkle of flaky sea salt or a few fresh rosemary sprigs just before serving.
Side Dishes
Your Rosemary & Roasted Garlic Artisan Bread Recipe goes beautifully alongside hearty soups, vibrant salads, or rustic cheese boards. It’s perfect for soaking up flavorful stews or adding a fragrant bite to fresh bruschettas.
Creative Ways to Present
Turn slices into crostini topped with whipped goat cheese and fig preserves, or serve warm with olive tapenade. You can also transform this bread into grilled sandwiches that highlight its herb and garlic notes for a mouthwatering twist on lunch.
Make Ahead and Storage
Storing Leftovers
Keep your leftover artisan bread fresh by storing it at room temperature in an airtight container or bread box for up to two days. Wrapping it in a clean kitchen towel also helps maintain the crust’s texture without becoming soggy.
Freezing
If you want to enjoy your Rosemary & Roasted Garlic Artisan Bread Recipe later, freezing is a great option. Wrap the cooled bread tightly in plastic wrap and then foil, or place it in a freezer bag. It will keep well for up to three months without losing flavor.
Reheating
To revive frozen or stored bread, thaw it at room temperature and warm it in a preheated oven at 350°F for 8 to 10 minutes. This brings back the crisp exterior and soft, aromatic interior perfectly, almost like fresh-baked.
FAQs
Can I use dried rosemary only?
Yes, you can use dried rosemary entirely if fresh is not available, but fresh rosemary adds a brighter, more vibrant flavor that really enhances the bread’s aroma.
Is this bread suitable for beginners?
Absolutely! This recipe is straightforward and forgiving, ideal for anyone new to bread baking looking to step up their game with delicious herb and garlic flavor.
What can I substitute for all-purpose flour?
While all-purpose flour works best for the texture, you can substitute bread flour for more chewiness or a blend with whole wheat for a heartier loaf, but adjust the water slightly as whole wheat absorbs more.
Why does the bread need two rises?
The first rise develops the dough’s flavor and gluten structure, while the second rise helps the loaf achieve its final shape and lightness before baking, creating that classic artisan open crumb.
Can I add other herbs to this recipe?
Definitely! Thyme, oregano, or even a pinch of chili flakes can add extra layers of flavor. Just be mindful to keep the aromatic balance so the garlic and rosemary remain the stars.
Final Thoughts
I can’t recommend enough giving this Rosemary & Roasted Garlic Artisan Bread Recipe a try. It’s one of those special breads that tastes like you bought it from a fancy bakery but is completely achievable in your home kitchen. The combination of roasted garlic sweetness and fresh rosemary aroma is simply unforgettable. Once you try it, you might find yourself baking it again and again, sharing its warmth and irresistible charm with friends and family.
Print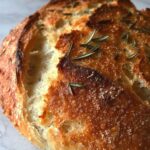
Rosemary & Roasted Garlic Artisan Bread Recipe
- Prep Time: 20 minutes
- Cook Time: 30 minutes
- Total Time: 2 hours 30 minutes
- Yield: 1 loaf (about 10 slices)
- Category: Bread
- Method: Baking
- Cuisine: Italian
- Diet: Vegetarian
Description
This Rosemary & Roasted Garlic Artisan Bread is a fragrant, crusty homemade loaf infused with the savory flavors of roasted garlic and fresh and dried rosemary. Perfect for sandwiches or alongside soups, this bread combines simple ingredients with a classic baking method to create a rustic Italian-style artisan loaf with a flavorful garlic punch.
Ingredients
Dough Ingredients
- 3 cups all-purpose flour
- 1 1/2 teaspoons salt
- 1 teaspoon granulated sugar
- 2 1/4 teaspoons active dry yeast (1 packet)
- 1 1/4 cups warm water (about 110°F)
- 1 tablespoon olive oil (plus 1 tablespoon for roasting garlic)
- 1 tablespoon fresh rosemary, finely chopped
- 1/2 teaspoon dried rosemary
- 1/4 teaspoon black pepper
Roasted Garlic
- 1 whole head garlic
Instructions
- Roast the Garlic: Preheat the oven to 400°F. Slice the top off the whole head of garlic to expose the cloves. Drizzle with 1 tablespoon olive oil and wrap the garlic head tightly in foil. Roast in the oven for 35 to 40 minutes until the cloves are soft and golden. Remove and let cool. Once cool, squeeze the roasted garlic cloves out of their skins and mash into a smooth paste.
- Activate the Yeast: In a large mixing bowl, combine the warm water, granulated sugar, and active dry yeast. Let the mixture sit for 5 to 10 minutes until it becomes foamy, indicating the yeast is active.
- Mix the Dough: Stir in 1 tablespoon olive oil, the mashed roasted garlic paste, chopped fresh rosemary, dried rosemary, salt, and black pepper into the yeast mixture. Gradually add the all-purpose flour, mixing continuously until a shaggy dough forms.
- Knead the Dough: Turn the dough out onto a lightly floured surface. Knead the dough for 8 to 10 minutes until it becomes smooth and elastic, which helps develop gluten for structure and texture.
- First Rise: Lightly oil a large bowl and place the dough inside. Cover the bowl with a clean towel and set it in a warm place. Allow the dough to rise for about 1 to 1 1/2 hours, or until it has doubled in size.
- Shape the Loaf: Punch down the risen dough to release excess air. Shape it into a round loaf and place it on a baking sheet lined with parchment paper. Cover it loosely with a towel and let it rise again for 30 to 40 minutes to puff up before baking.
- Prepare for Baking: Preheat your oven to 425°F. Using a sharp knife, score the top of the loaf with shallow slashes, which allows the bread to expand during baking and creates an artisan look.
- Bake the Bread: Bake the loaf for 25 to 30 minutes until the crust turns golden brown and the loaf sounds hollow when tapped on the bottom, indicating it is fully baked.
- Cool and Serve: Remove the bread from the oven and transfer it to a wire rack to cool completely before slicing. Cooling helps the crumb set and improves the texture.
Notes
- For a crispier crust, place a shallow pan of hot water on the lower oven rack during baking to create steam, which helps develop a crunchier crust.
- This bread is best enjoyed fresh but can be stored at room temperature in an airtight container for up to 2 days.
- For longer storage, freeze the bread; thaw completely before slicing and serving.


